Master the Best Drone Camera Settings for Stunning Shots
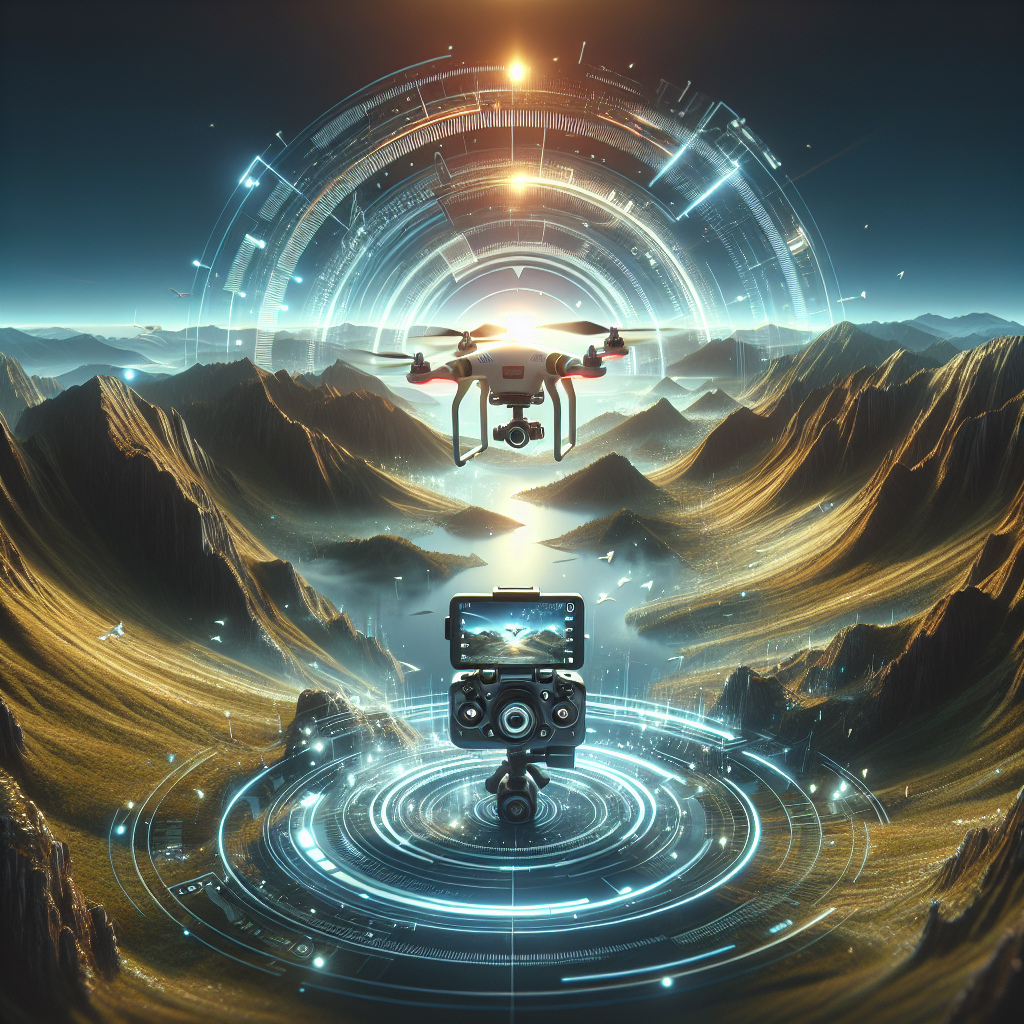
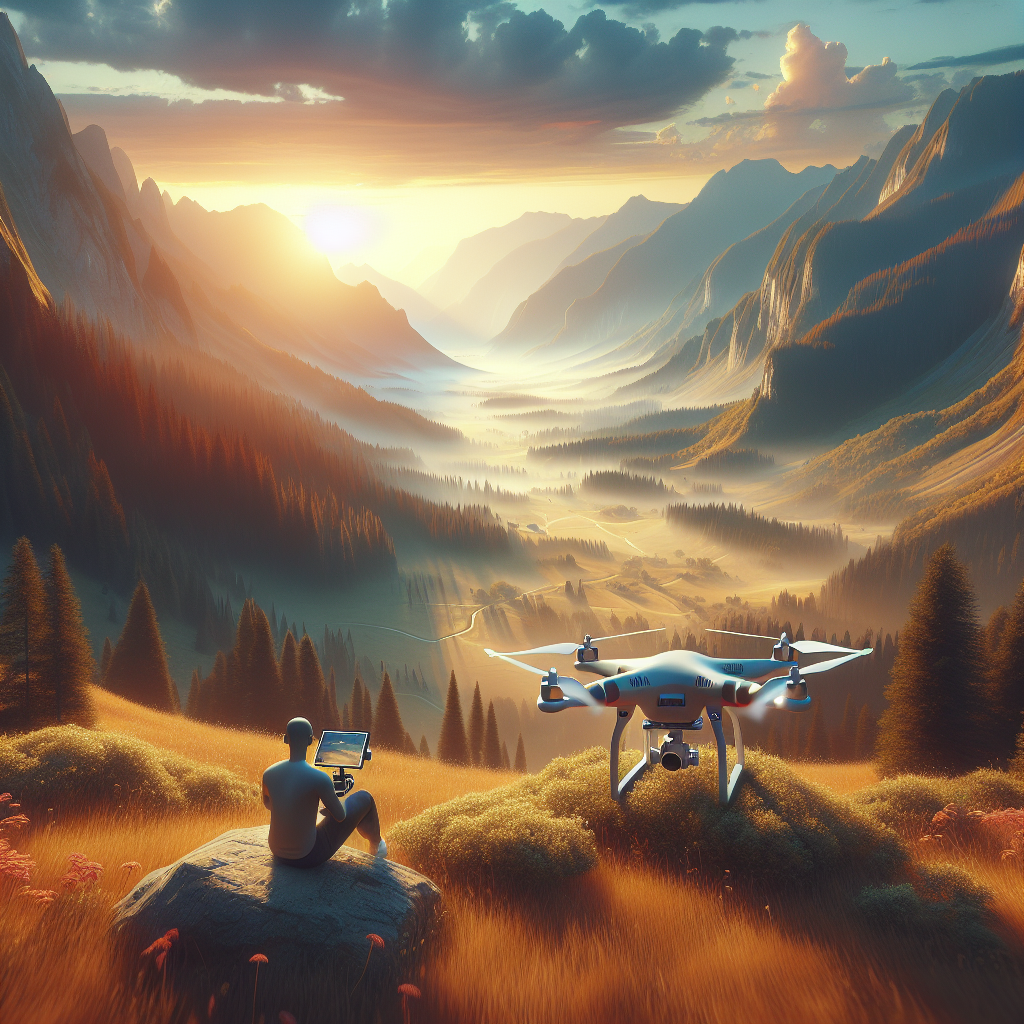
In the rapidly evolving world of aerial photography and videography, drones have become an indispensable tool for both amateurs and professionals. These flying marvels offer a unique perspective and can capture breathtaking images and videos that were once only possible from helicopters or airplanes. To truly harness the power of your drone and capture stunning shots, mastering the camera settings is crucial. This article will guide you through the best drone camera settings, ensuring your aerial photography and videography stand out.
Understanding the Basics of Drone Photography
Before diving into the specific camera settings, it is important to understand some fundamental aspects of drone photography. The principles of photography remain consistent, whether you’re using a DSLR, a smartphone, or a drone. However, drones introduce unique challenges and opportunities that require a slightly different approach.
A key difference with drones is the perspective. The aerial viewpoint allows for creative compositions that can transform mundane scenes into extraordinary ones. Understanding how to compose shots from the sky is as crucial as knowing your camera settings.
Mastering Camera Settings
1. Resolution and Aspect Ratio
Resolution determines the detail and clarity of your images. Higher resolutions capture more detail, which is especially important for aerial photography as it often includes expansive landscapes. Most modern drones offer resolutions from 12MP to 48MP or even higher. Choose the highest resolution available to ensure the best quality, but be mindful of storage limitations.
Aspect ratio is another key setting. The most common are 4:3 and 16:9. A 4:3 aspect ratio captures more vertical information, which can be beneficial for landscapes, while 16:9 offers a wider view, ideal for videos or expansive scenes.
2. ISO Sensitivity
ISO controls the camera’s sensitivity to light. In general, you should keep the ISO as low as possible to minimize noise and maintain image quality. However, in low-light conditions, increasing the ISO can help capture more light, though at the cost of introducing noise. Most drones have an ISO range from 100 to 3200 or higher. Use the lowest ISO that allows for a properly exposed image.
3. Shutter Speed
Shutter speed affects how motion is captured. A fast shutter speed (e.g., 1/1000) will freeze motion, ideal for capturing fast-moving subjects or reducing blur from drone movement. A slower shutter speed (e.g., 1/30) can introduce motion blur, which can be creatively used for artistic effects like showing movement in waterfalls or traffic.
When shooting video, the 180-degree rule suggests setting your shutter speed to double your frame rate. For example, if shooting at 24fps, set your shutter speed to 1/48 (or the closest available option, such as 1/50).
4. Aperture
Not all drones have adjustable apertures. For those that do, the aperture controls the depth of field and the amount of light entering the camera. A wide aperture (e.g., f/2.8) allows more light and creates a shallow depth of field, which can isolate subjects from the background. A narrow aperture (e.g., f/11) increases depth of field, which is useful for landscape shots.
5. White Balance
White balance ensures that colors are accurately represented in your images. Many drones offer preset white balance settings like Sunny, Cloudy, and Tungsten. For the most accurate colors, especially in changing lighting conditions, consider using the custom white balance setting or shooting in RAW format, which allows for adjustments in post-production.
Advanced Settings for Stunning Shots
1. D-Log and HDR
D-Log is a flat color profile that captures more dynamic range, preserving details in both shadows and highlights. This setting is ideal for post-processing, as it allows for greater flexibility in color grading. Similarly, HDR (High Dynamic Range) enhances details in highlights and shadows, producing well-balanced images directly from the camera.
2. ND Filters
Neutral Density (ND) filters are essential for controlling exposure in bright conditions. They reduce the amount of light entering the camera, allowing for slower shutter speeds without overexposing the image. This is crucial for maintaining cinematic motion blur when filming video.
3. Focus and Autofocus Settings
While many drones have reliable autofocus systems, understanding how to use manual focus can enhance your shot quality. Use manual focus to lock focus at a specific distance, especially in complex scenes where autofocus might struggle. Regularly check focus sharpness, particularly in low-light conditions or when using ND filters.
4. Anti-Flicker Settings
When shooting video, flickering can occur under artificial lighting due to mismatched frame rates and light frequencies. Most drones offer anti-flicker settings (e.g., 50Hz or 60Hz) to mitigate this issue. Choose the setting that matches the electrical frequency of your location.
Practical Tips for Capturing Stunning Shots
1. Plan Your Shots
Research your location and plan your shots in advance. Consider the time of day, weather conditions, and any legal restrictions. Golden hour (shortly after sunrise or before sunset) often provides the best lighting conditions for aerial photography.
2. Use Intelligent Flight Modes
Many drones come equipped with intelligent flight modes like Point of Interest, Follow Me, or Waypoints. These modes automate certain camera movements, allowing you to focus on composition and settings.
3. Post-Processing
Even with the best camera settings, post-processing can enhance your images. Use software like Adobe Lightroom or Photoshop to adjust exposure, color balance, and sharpness. If shooting in RAW, you’ll have more flexibility in editing.
Conclusion
Mastering the best drone camera settings is a combination of understanding your equipment, experimenting with different settings, and applying creative techniques. By adjusting resolution, ISO, shutter speed, aperture, and other settings to suit your specific scene, you can capture stunning aerial shots that captivate viewers. Remember, practice is essential. The more you fly and shoot, the more intuitive these settings will become, allowing you to focus on creativity and composition.
With these tips and techniques, you’re well on your way to becoming a master of aerial photography and videography. Happy flying!
Share this content:
Post Comment