Master Drone Footage Editing for Stunning Visuals
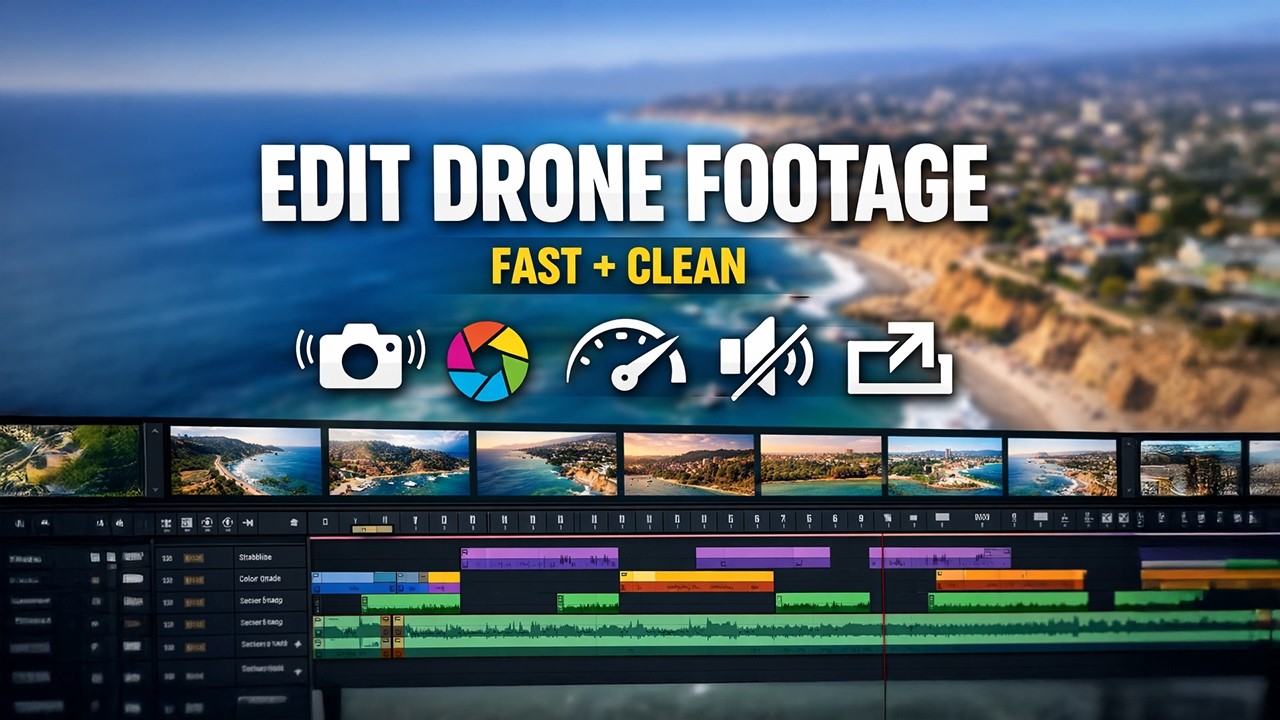
The advent of drones has revolutionized the fields of photography and videography, offering breathtaking perspectives and dynamic shots previously unattainable. However, capturing footage is only the first step in crafting stunning visual narratives. Mastering the art of drone footage editing is essential to transforming raw aerial clips into polished, compelling visuals. This process involves a combination of technical skills and creative vision, ensuring that each frame contributes to the overall story.
Understanding the Basics of Drone Footage
Types of Shots
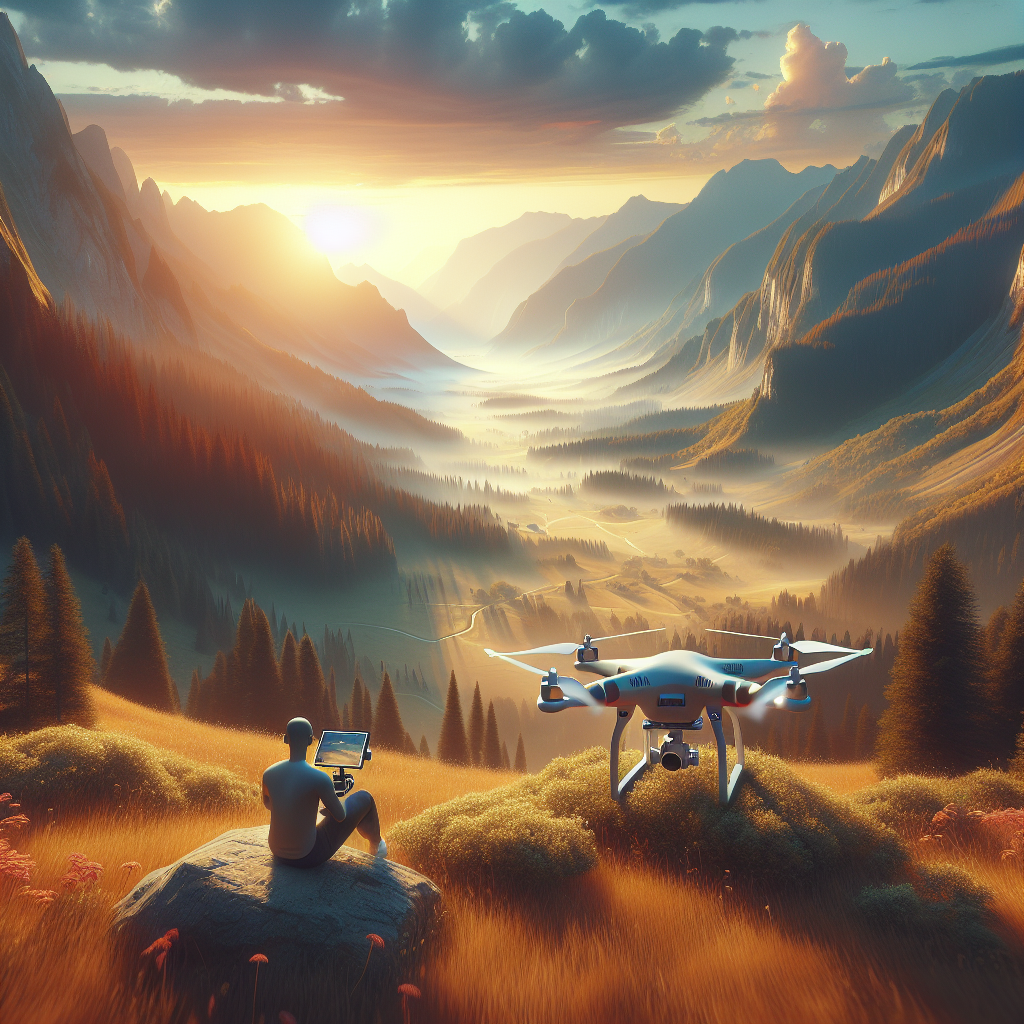
Before diving into editing, it’s crucial to understand the different types of drone shots. These include establishing shots, tracking shots, fly-throughs, and panoramic views. Each type serves a purpose in storytelling and can influence how footage is edited. Establishing shots, for instance, set the scene and provide context, while tracking shots can follow subjects dynamically, adding motion and interest.
Resolution and Frame Rates
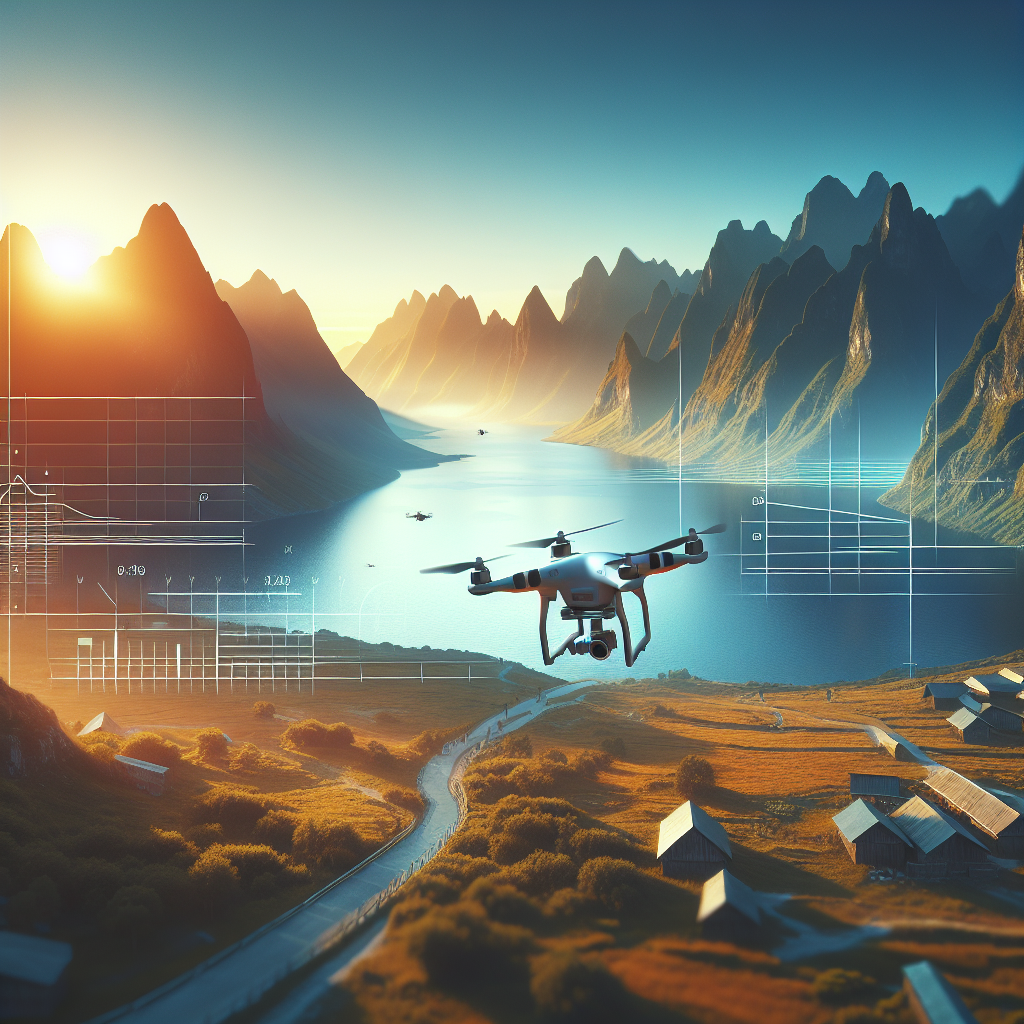
Drone cameras typically offer various resolutions and frame rates, including 4K at 30fps, 1080p at 60fps, and more. The choice depends on the intended use of the footage. Higher resolutions provide more detail and flexibility in post-production, while varied frame rates can influence the portrayal of movement, with higher rates allowing for slow-motion effects.
Essential Tools for Editing Drone Footage
To achieve professional-quality edits, certain tools and software are indispensable.
Editing Software
Popular editing software includes Adobe Premiere Pro, Final Cut Pro, and DaVinci Resolve. Each offers comprehensive tools for color correction, stabilization, and more. These platforms are industry standards, providing robust capabilities for both amateur and professional editors.
Hardware Requirements
Editing high-resolution footage requires a powerful computer. Key specifications include a fast processor, ample RAM (16GB or more), and a dedicated graphics card. Additionally, a high-quality monitor with accurate color reproduction is essential for precise color grading.
Additional Plugins and Tools
Plugins can extend the capabilities of editing software. For instance, Neat Video is excellent for noise reduction, while Red Giant offers a suite of tools for color grading and effects. These plugins enhance the editing process, allowing for more refined and creative outcomes.
Steps to Master Drone Footage Editing
1. Organizing Your Footage
Efficient organization is the foundation of effective editing. Start by importing footage into your chosen software and organizing it into bins or folders based on location, date, or type of shot. This systematization saves time during editing and ensures a smooth workflow.
2. Reviewing and Selecting the Best Clips
Carefully review all footage to select the best clips for your project. Look for shots that are well-composed, stable, and correctly exposed. Consider the narrative you wish to create and choose clips that contribute to that story.
3. Sequencing and Storyboarding
Create a rough sequence or storyboard of the selected clips. This step involves arranging the footage in a logical order that aligns with your narrative. Pay attention to the flow and pacing, ensuring smooth transitions between shots.
4. Stabilization and Correction
Even with advanced stabilization technology in drones, some footage may require additional stabilization in post-production. Use built-in stabilization tools in your editing software to smooth out any jitters. Additionally, correct any exposure or lens distortion issues to ensure a professional look.
5. Color Correction and Grading
Color correction adjusts the footage to achieve a balanced, natural look, while color grading adds a stylistic touch to enhance the mood and atmosphere. Start with correcting white balance, exposure, and contrast. Then, apply color grading to create a consistent look and feel across all clips.
6. Incorporating Effects and Transitions
Use effects and transitions sparingly to maintain focus on the footage itself. Simple cross-dissolves or fade-ins can add polish without distracting from the visuals. For more dynamic storytelling, consider using speed ramps or time-lapse effects.
7. Adding Music and Sound
Sound is a powerful tool in enhancing the emotional impact of your visuals. Choose a soundtrack that complements the mood and pace of your footage. Ensure that audio levels are balanced and do not overpower the visuals. Incorporate ambient sounds if available to add authenticity.
8. Exporting and Sharing
Finally, export your edited footage in the desired format and resolution. Consider the platform where it will be shared, as different platforms have specific requirements. Ensure that the compression settings preserve quality while maintaining a manageable file size.
Advanced Techniques for Stunning Drone Edits
Using LUTs for Consistent Color Grading
Look-Up Tables (LUTs) are a powerful tool for achieving consistent color grading across multiple clips. They can quickly transform the look of your footage, offering a professional finish. Experiment with different LUTs to find one that suits your project’s aesthetic.
Incorporating Motion Graphics
Motion graphics can add an extra layer of sophistication to your edits. Consider incorporating titles, lower thirds, or animated elements to provide context or emphasize points within your narrative.
Creative Use of Speed and Time
Playing with speed can add drama or highlight specific moments. Use speed ramps to emphasize action or slow-motion to draw attention to detail. Conversely, time-lapses can capture changes over time, adding a dynamic element to your story.
Conclusion
Mastering drone footage editing is both a technical and creative endeavor. By understanding the fundamentals of drone cinematography and utilizing powerful editing tools, you can transform raw footage into stunning visuals that captivate and inspire. Whether you’re a hobbyist or a professional, continual practice and experimentation are key to honing your skills and developing a unique style. As you refine your techniques, you’ll find that the possibilities for storytelling through aerial imagery are as limitless as the skies themselves.
Share this content:
Post Comment