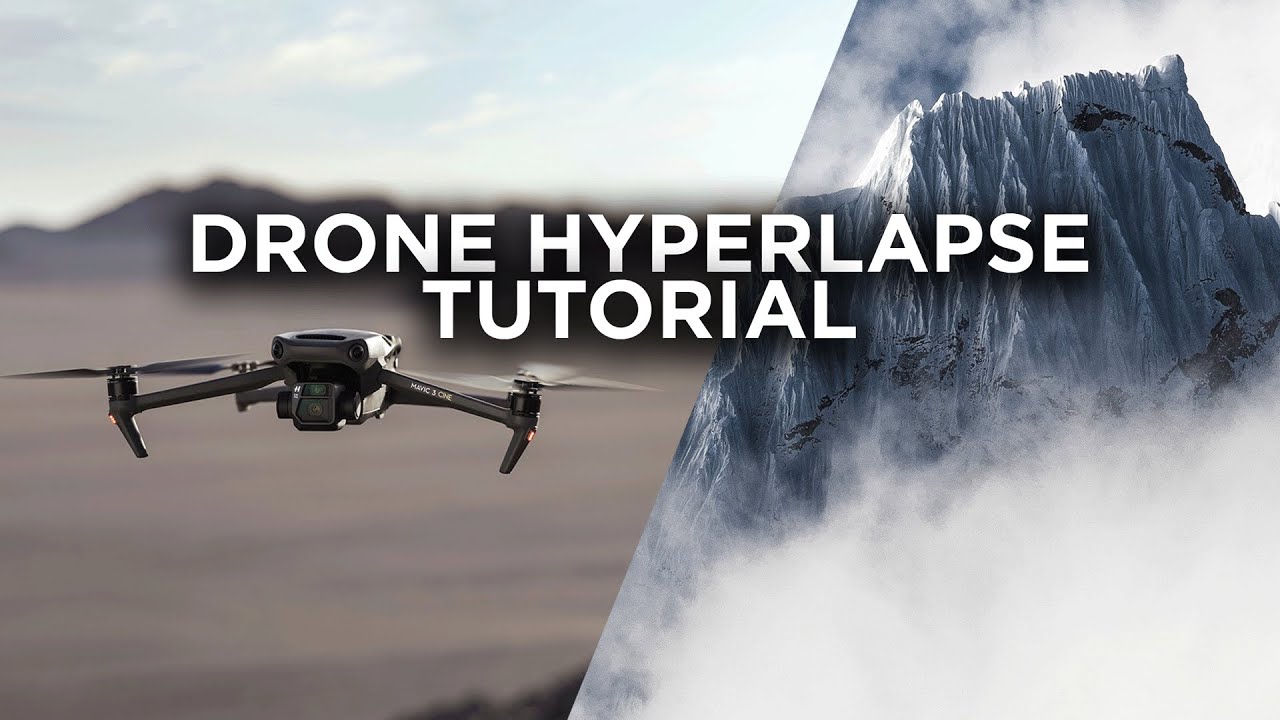
Master Drone Hyperlapse: Ultimate Aerial Tutorial Guide
Aerial photography and videography have revolutionized the way we capture the world around us, providing breathtaking perspectives that were once only accessible to birds. Among the various techniques in aerial videography, the hyperlapse stands out as particularly exciting and visually compelling. A hyperlapse is a type of time-lapse photography that involves moving the camera over considerable distances, creating dynamic sequences that showcase the passage of time with a sense of motion and depth. In this comprehensive guide, we will delve into mastering drone hyperlapse, exploring techniques, equipment, and editing processes necessary to create stunning aerial hyperlapses.
Understanding the Basics of Hyperlapse
Before diving into the technicalities, it’s crucial to understand what makes a hyperlapse distinct from a time-lapse. In a standard time-lapse, the camera remains stationary while capturing a sequence of images at set intervals. A hyperlapse, on the other hand, involves moving the camera between shots, which adds a third dimension of motion to the sequence. This movement can be along a straight line, a curved path, or around a specific subject, providing endless creative possibilities.
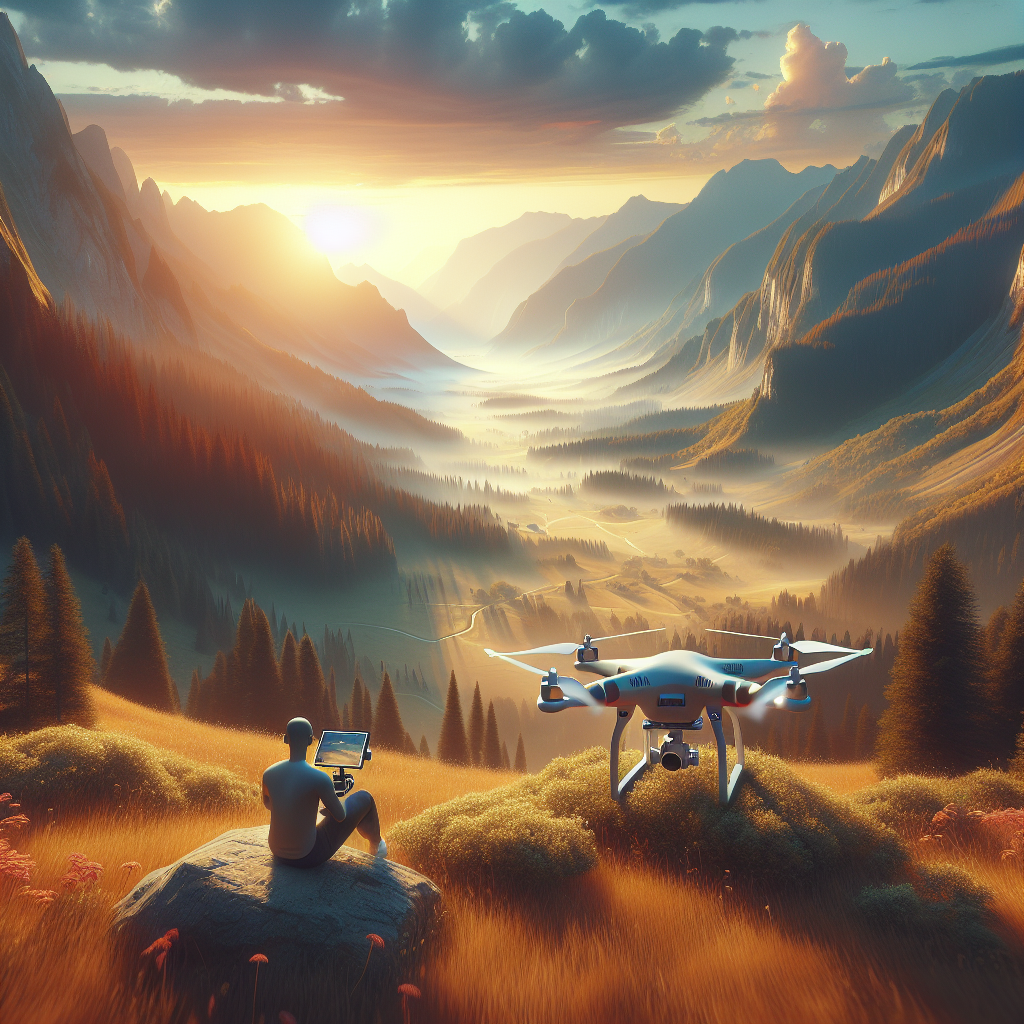
The Role of Drones in Hyperlapse
Drones have become indispensable tools for creating hyperlapses due to their ability to cover large areas and navigate complex flight paths with precision. They enable filmmakers to capture smooth, cinematic sequences from unique vantage points, making hyperlapses more dynamic and visually engaging.
Choosing the Right Equipment
To master drone hyperlapse, selecting the right equipment is paramount. Here’s what you need to consider:
Drone Selection
When choosing a drone for hyperlapse, consider the following factors:
– **Stability and GPS Accuracy**: A drone with excellent stability and precise GPS capabilities is crucial for capturing smooth hyperlapses. Models like the DJI Mavic 3 and Phantom 4 Pro are popular choices due to their advanced stabilization and GPS systems.
– **Camera Quality**: A high-resolution camera is essential for capturing detailed images. Look for drones with at least a 12-megapixel camera and the ability to shoot in RAW format for maximum editing flexibility.
– **Battery Life**: Hyperlapses can be time-consuming, so a drone with a longer battery life is beneficial. Consider drones that offer at least 30 minutes of flight time per charge.
Additional Gear
– **Neutral Density Filters**: These filters are essential for controlling exposure, especially during daylight shoots. They help achieve the desired motion blur, adding a cinematic quality to your hyperlapse.
– **Extra Batteries**: Given the extended flight times required for hyperlapses, carrying extra batteries ensures you have enough power to complete your shoot.
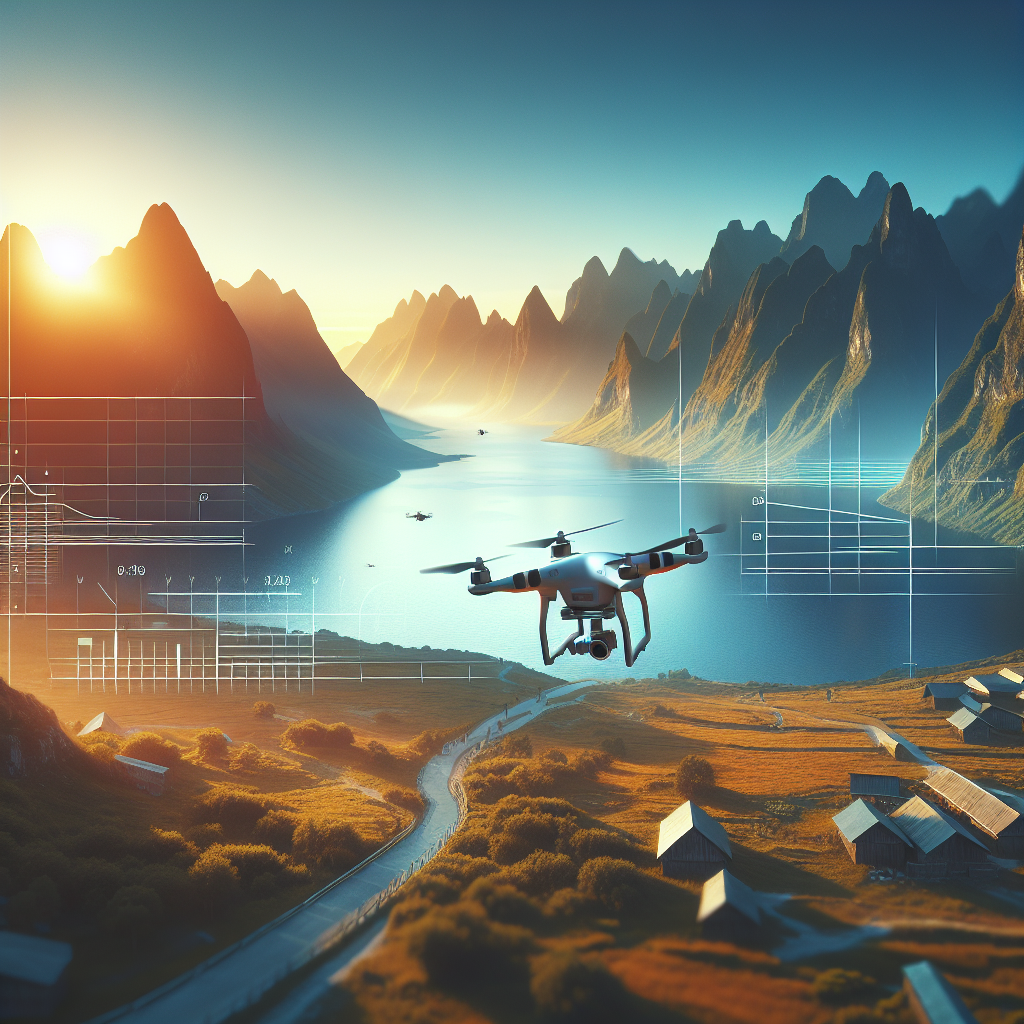
Planning Your Hyperlapse Shot
Successful hyperlapses require careful planning and execution. Here’s how to plan an effective shot:
Location Scouting
– **Research**: Choose locations with interesting subjects and dynamic elements, such as busy streets, flowing rivers, or iconic landmarks.
– **Permissions**: Ensure you have the necessary permissions to fly your drone in the chosen location, and be aware of any restrictions.
Flight Path and Timing
– **Path Planning**: Define a clear flight path that includes key points of interest. Consider factors like altitude changes, direction, and speed.
– **Time of Day**: The time of day can dramatically affect the lighting and mood of your hyperlapse. Golden hour (shortly after sunrise or before sunset) often provides soft, warm light that enhances the visual appeal.
Executing the Hyperlapse
With your plan in place, it’s time to execute the hyperlapse:
Camera Settings
– **Interval Settings**: Depending on the speed of movement and desired effect, set an interval between shots (e.g., every 2-10 seconds).
– **Shutter Speed**: Aim for a slower shutter speed (around 1/50 to 1/100) to introduce motion blur, which adds fluidity to the sequence.
Flying the Drone
– **Manual vs Automated Flight**: While some drones offer automated hyperlapse modes, manual control provides greater flexibility and creativity. Practice flying manually to achieve precise results.
– **Smooth Movements**: Maintain smooth, consistent movements along the planned path. Avoid sudden changes in speed or direction to ensure a seamless hyperlapse.
Post-Production: Bringing It All Together
Once you’ve captured your images, the final step is editing. Here’s how to transform your footage into a stunning hyperlapse:
Importing and Organizing
– **Software**: Use editing software like Adobe Premiere Pro, Final Cut Pro, or DaVinci Resolve for organizing and editing your hyperlapse sequence.
– **Sequence Setup**: Import your images, and set up a new sequence with the desired frame rate (typically 24 or 30 fps) and resolution.
Stabilization and Color Grading
– **Stabilization**: Use stabilization tools in your editing software to smooth out any unintended camera movements.
– **Color Grading**: Enhance the visual impact by adjusting exposure, contrast, and color balance. Apply LUTs (Look-Up Tables) if desired, for a cinematic look.
Speed Ramping and Final Adjustments
– **Speed Ramping**: Add speed ramps to emphasize specific moments or transitions, enhancing the dynamic feel of the hyperlapse.
– **Final Touches**: Review the entire sequence, making any necessary adjustments to ensure a polished final product.
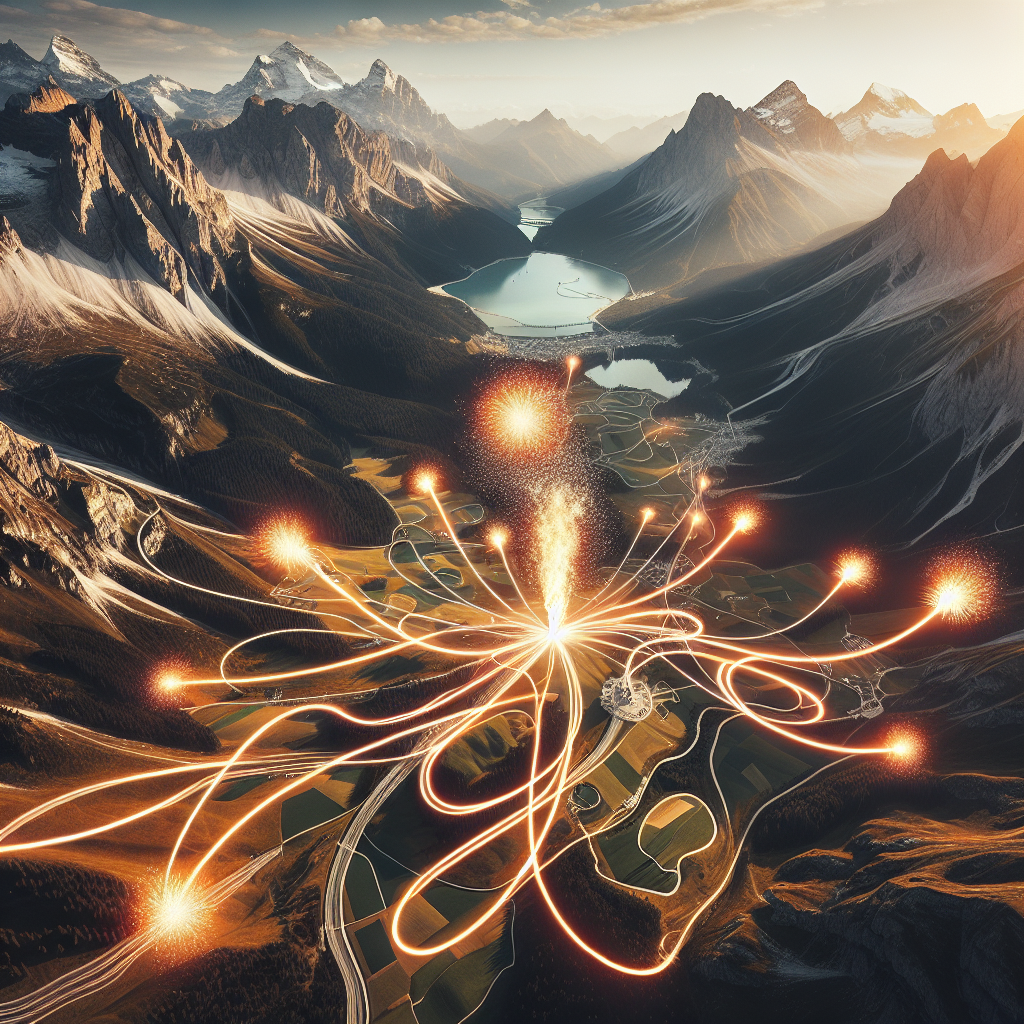
Creative Tips and Tricks
To take your drone hyperlapse to the next level, consider incorporating these creative techniques:
Layered Compositions
Combine multiple elements in your frame to create depth and interest. For example, include foreground elements like trees or buildings to frame your subject.
Reverse and Play with Time
Experiment with reversing the order of your hyperlapse or playing with time to create unexpected effects. This can add an element of surprise and intrigue to your sequence.
Incorporate Audio
Pair your hyperlapse with dynamic audio, such as music or ambient sound, to enhance the overall experience and create a more immersive atmosphere.
Conclusion: Embrace the Art of Hyperlapse
Mastering drone hyperlapse is a rewarding endeavor that combines technical skill, creativity, and patience. By understanding the fundamentals, selecting the right equipment, and meticulously planning and executing your shots, you can create captivating sequences that offer viewers a unique perspective of the world. As you continue to experiment and refine your techniques, you’ll discover the limitless potential of drone hyperlapse, transforming ordinary scenes into extraordinary visual journeys. Embrace the art of hyperlapse, and let your creativity soar to new heights.
Share this content:
Post Comment