Master Drone Color Grading: Enhance Aerial Footage
Introduction
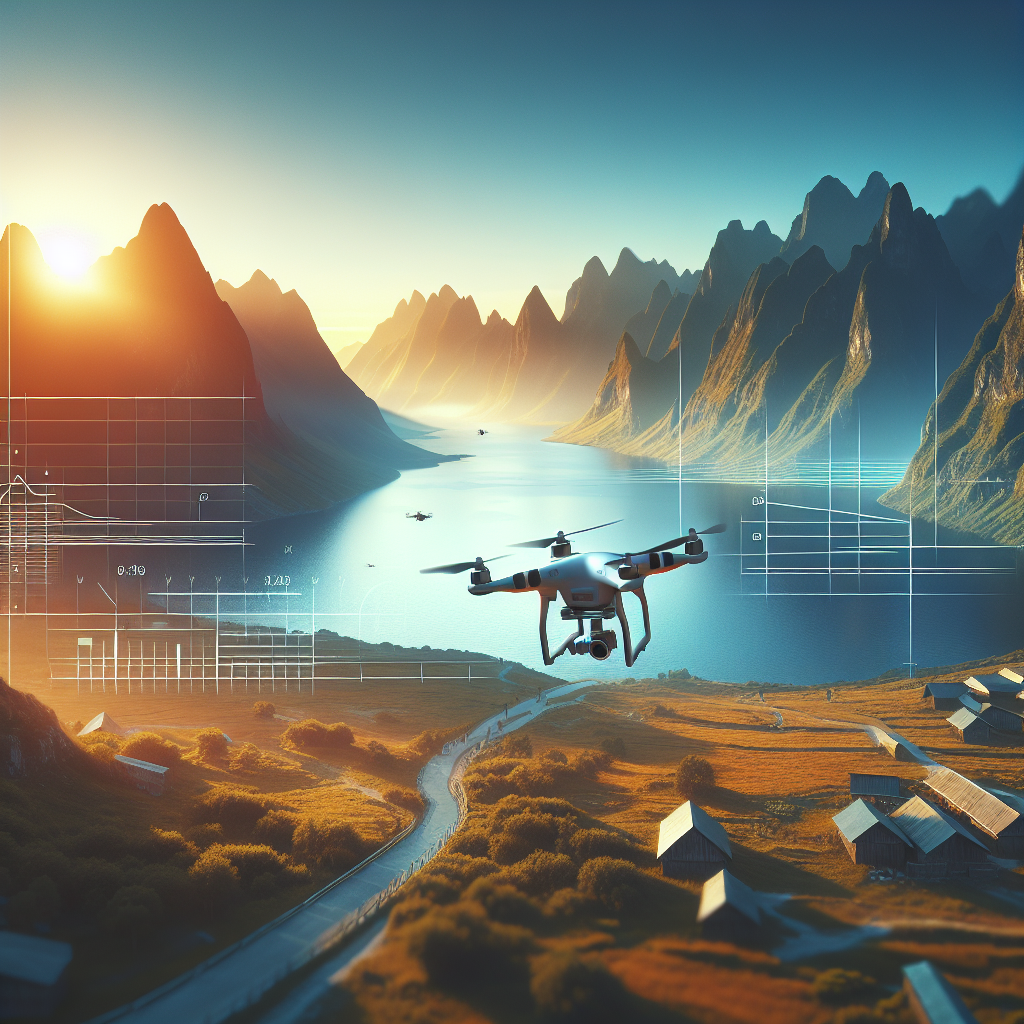
As drone technology advances, capturing stunning aerial footage has become more accessible to both amateurs and professionals. However, capturing footage is just the beginning. To truly elevate your drone videos and make them stand out, mastering the art of color grading is essential. Color grading transforms flat, uninspiring footage into vibrant, cinematic masterpieces. This article explores the importance of color grading in aerial videography and provides practical tips to enhance your drone footage.
Understanding Color Grading
Color grading is the process of altering and enhancing the color of a video. It involves adjusting the contrast, color balance, saturation, and more to create a specific mood or atmosphere. In aerial videography, color grading can highlight the natural beauty of landscapes, emphasize certain elements, and convey a particular narrative or emotion.
Color Correction vs. Color Grading
Before diving into color grading, it’s crucial to distinguish it from color correction. Color correction is the initial step where footage is adjusted to achieve a natural and accurate color representation. This involves fixing exposure issues, white balance inaccuracies, and correcting any color casts. Once the footage is color-corrected, you move on to color grading, where creative decisions are made to enhance and stylize the video.
Pre-Production Tips for Better Grading
Achieving an excellent color grade starts before you even lift your drone off the ground. Here are some pre-production tips to consider:
Shoot in Log or RAW Format
If your drone supports it, shoot in log or RAW format. These formats provide more dynamic range and flexibility in post-production, allowing for more precise color grading. Log footage may appear flat and desaturated, but it contains a wealth of information that can be manipulated in editing software.
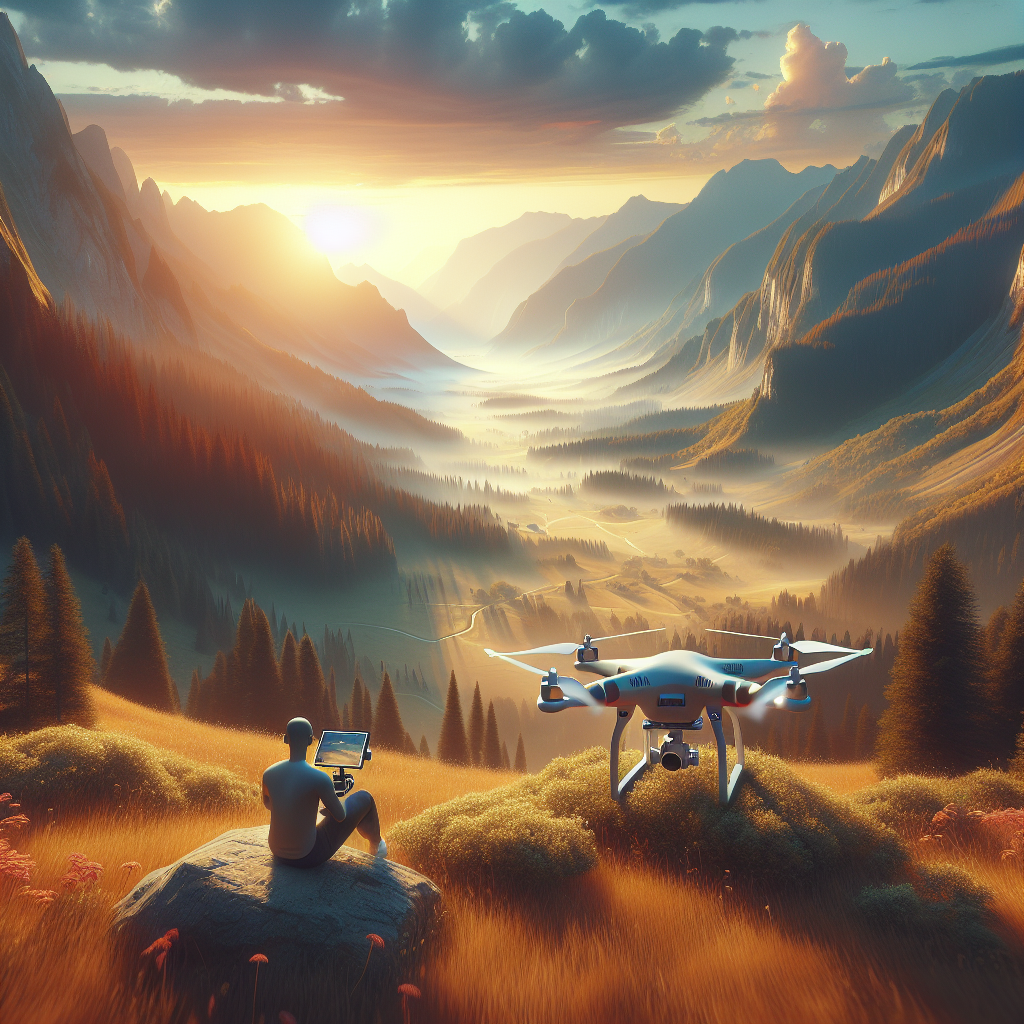
Consider Lighting Conditions
The time of day significantly impacts the quality of your footage. Shooting during the golden hour—shortly after sunrise or before sunset—provides soft, warm light that enhances natural colors. Midday sun can cast harsh shadows and cause overexposure, making it challenging to achieve a balanced color grade.
Color Grading Workflow
A structured workflow is essential for effective color grading. Here’s a step-by-step guide to help you get started:
Step 1: Import and Organize Footage
Begin by importing your footage into your editing software. Organize your clips into bins or folders based on scenes or locations. Proper organization saves time during the editing process and ensures a smoother workflow.
Step 2: Perform Basic Color Correction
Before diving into creative grading, perform basic color correction. Adjust the exposure, contrast, and white balance to create a neutral base. This step ensures that your footage is consistent and ready for grading.
Step 3: Choose a Color Grading Style
Decide on a color grading style that complements your footage and aligns with your vision. Do you want a natural look, or are you aiming for a more stylized, cinematic appearance? Consider the mood you want to convey and select a style that enhances your narrative.
Step 4: Enhance Colors and Contrast
Use color grading tools to enhance the colors and contrast in your footage. Adjust the saturation to make colors pop, but be cautious not to oversaturate, as this can lead to unnatural results. Experiment with the contrast to add depth and dimension to your shots.
Step 5: Apply Color Grading LUTs
Look-Up Tables (LUTs) are a powerful tool for color grading. They allow you to apply a consistent look and feel across your footage. You can find a wide range of LUTs online or create your own. Apply a LUT and adjust its intensity to suit your footage.
Step 6: Refine and Fine-Tune
Once you’ve applied your initial grade, refine the details. Pay attention to skin tones, shadows, and highlights. Use masks and keyframes to selectively adjust specific areas of the frame. This level of detail can elevate your footage to professional standards.
Tools and Software for Color Grading
Several software options are available for color grading, each with its unique features and capabilities. Some popular choices include:
Adobe Premiere Pro
Adobe Premiere Pro is a widely-used editing software that offers robust color grading tools. Its Lumetri Color panel provides powerful features for both novice and experienced colorists.
DaVinci Resolve
DaVinci Resolve is renowned for its color grading capabilities. It offers a comprehensive suite of tools and is favored by many professional colorists. The software is available in both free and paid versions.
Final Cut Pro X
Final Cut Pro X is a popular choice for Mac users. It includes intuitive color grading tools and supports third-party plugins for enhanced functionality.
Tips for Achieving Cinematic Looks
To achieve a cinematic look in your aerial footage, consider the following tips:
Focus on Storytelling
Color grading should enhance the storytelling aspect of your footage. Consider the emotions you want to evoke and use color to support the narrative. Subtle changes in hue and saturation can convey different moods and add depth to your story.
Embrace Color Theory
Understanding color theory can help you make informed decisions during grading. Use complementary colors to create contrast and draw attention to specific elements. Play with warm and cool tones to influence the mood and atmosphere of your footage.
Maintain Consistency
Consistency is key in color grading. Ensure that your color grading style is uniform across all your footage. This creates a cohesive and professional look, enhancing the overall viewing experience.
Conclusion
Mastering drone color grading is an essential skill for any aerial videographer. By understanding the principles of color grading, following a structured workflow, and utilizing the right tools, you can transform your drone footage into visually captivating stories. Remember to experiment, be creative, and most importantly, enjoy the process of bringing your aerial visions to life.
With practice and dedication, you’ll be able to enhance your drone footage and produce stunning visuals that captivate your audience and elevate your storytelling skills.
#ChatGPT assisted in the creation of this article.
Share this content:
Post Comment