Master Aerial Video Editing: Top Techniques Revealed
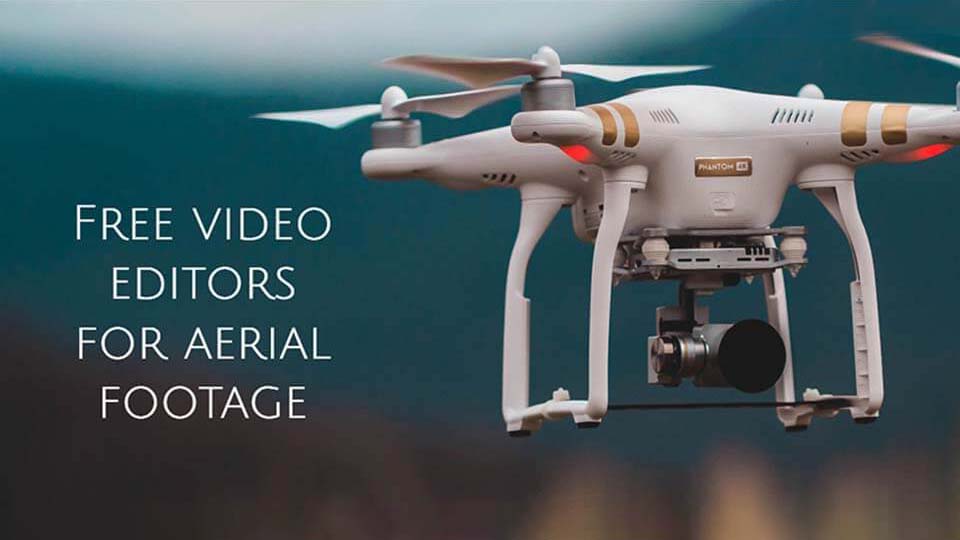
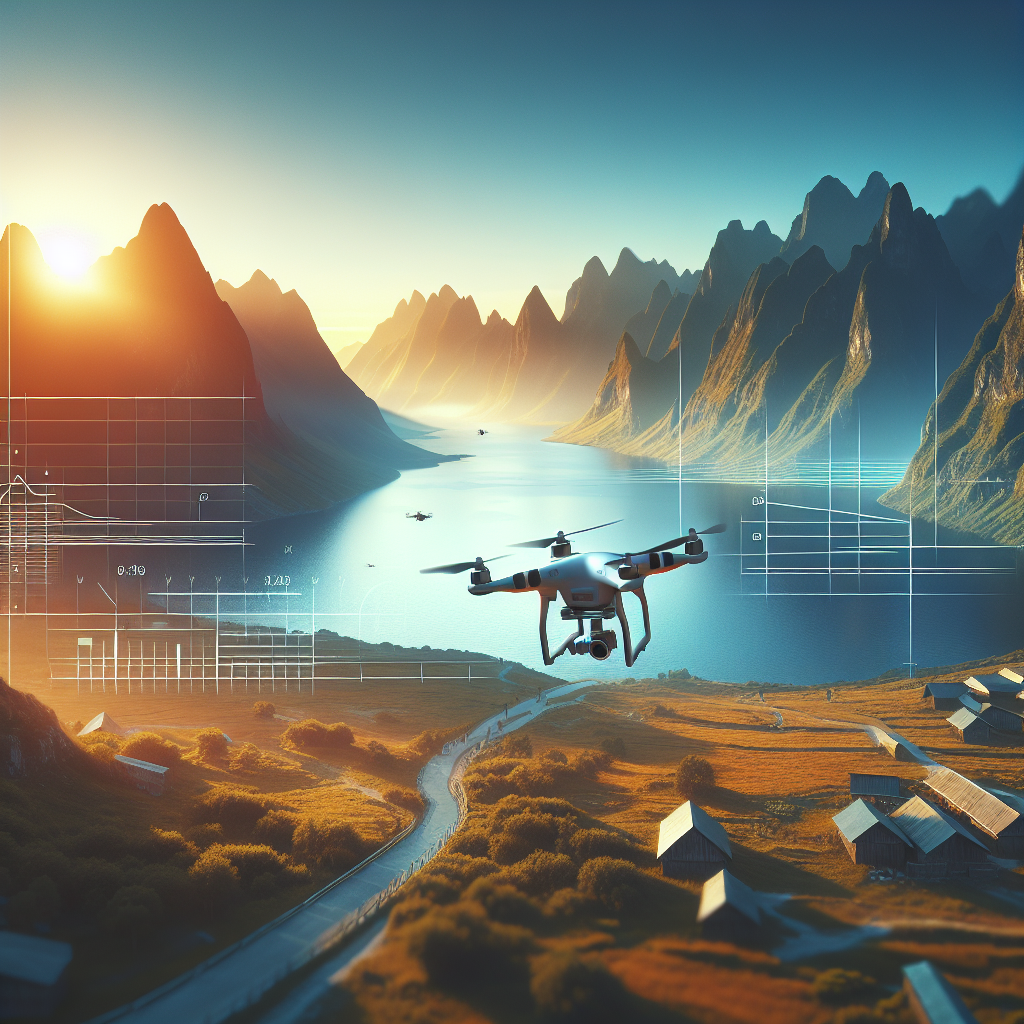
Aerial videography has become an integral part of modern filmmaking, offering breathtaking perspectives and dynamic visuals that ground-level shooting simply cannot achieve. As drones and other aerial devices become more accessible, the art of aerial video editing has surged in popularity. However, capturing stunning footage is only half the battle; the real magic happens in the editing room. This article will delve into the top techniques for mastering aerial video editing, helping you transform raw footage into a cinematic masterpiece.
Understanding the Basics of Aerial Video Editing
Before diving into advanced techniques, it’s crucial to understand the basics of aerial video editing. This involves familiarizing yourself with video editing software that supports high-resolution footage and offers tools for color correction, stabilization, and sound editing. Popular choices include Adobe Premiere Pro, Final Cut Pro, and DaVinci Resolve. Understanding the capabilities and limitations of your software will set the foundation for more advanced editing techniques.
Stabilization: Smooth Out Your Footage
One of the most common issues with aerial footage is instability. Even with advanced drone technology, wind and movement can result in shaky footage. The first step in editing is to stabilize your video. Most editing software provides built-in stabilization tools that can smooth out footage, making it more visually pleasing. Experiment with different settings to achieve the perfect balance between smoothness and natural motion.
Color Correction and Grading: Enhance Your Visuals
Color Correction
Aerial footage often suffers from uneven lighting conditions due to changing altitudes and weather. Color correction involves adjusting the white balance, exposure, and contrast to ensure your footage looks natural and consistent. This step is crucial for setting the foundation before moving on to color grading.
Color Grading
Once your footage is corrected, color grading is where you can get creative. This process involves altering colors to evoke specific moods or styles. For instance, a warm color palette can convey a sense of nostalgia, while cool tones might suggest mystery or tension. Experiment with different grades to enhance the narrative of your footage.
Cutting and Sequencing: Crafting the Story
The art of storytelling in aerial video editing lies in the cut. Deciding what footage to keep and what to discard is crucial in maintaining the viewer’s interest. Start by creating a rough cut of your best shots, then refine it into a sequence that tells a cohesive story. Use techniques like cross-dissolves and jump cuts to create seamless transitions between scenes.
Incorporating Speed Ramps: Add Dramatic Effect
Speed ramps can add drama and emphasis to your aerial footage. By changing the speed of a clip, you can highlight key moments or create tension. For example, slowing down a shot of a drone soaring over a cliff can emphasize the grandeur of the landscape. Conversely, speeding up footage can convey energy and excitement.
Sound Design: Elevating the Experience
Sound design is often overlooked in aerial video editing, yet it plays a critical role in creating an immersive experience. Integrate ambient sounds like wind or bird calls to enhance realism. Use music to set the tone and rhythm of your video. Ensure that the audio levels are balanced so that neither the ambient sounds nor the music overpower each other.
Incorporating Titles and Graphics: Enhance the Presentation
Titles and graphics can provide context and enhance the overall presentation of your aerial video. Use them sparingly to introduce locations, highlight important information, or add a professional touch to your project. Ensure that fonts and graphics are consistent with the style and tone of your video to maintain a cohesive look.
Exporting Your Masterpiece: Choosing the Right Settings
After spending hours perfecting your aerial video, the final step is exporting it in the best possible quality. Choose the right resolution and bitrate settings to ensure your video looks stunning on any platform, whether it’s being uploaded to social media or projected on a big screen. Pay attention to file formats—common options include MP4 and MOV, depending on your distribution needs.
Conclusion: The Art of Aerial Video Editing
Mastering aerial video editing is a journey that combines technical skills, creativity, and a deep understanding of storytelling. By incorporating techniques like stabilization, color grading, cutting, speed ramping, and sound design, you can elevate your aerial footage from raw clips to cinematic masterpieces. As you continue to hone your skills, remember that practice and experimentation are key to discovering your unique style and voice in the realm of aerial videography.
Whether you’re a hobbyist looking to capture stunning landscapes or a professional filmmaker aiming to push the boundaries of visual storytelling, mastering aerial video editing will open up new horizons in your creative endeavors.
Share this content:

Post Comment