Master Drone Camera Settings for Stunning Aerial Shots
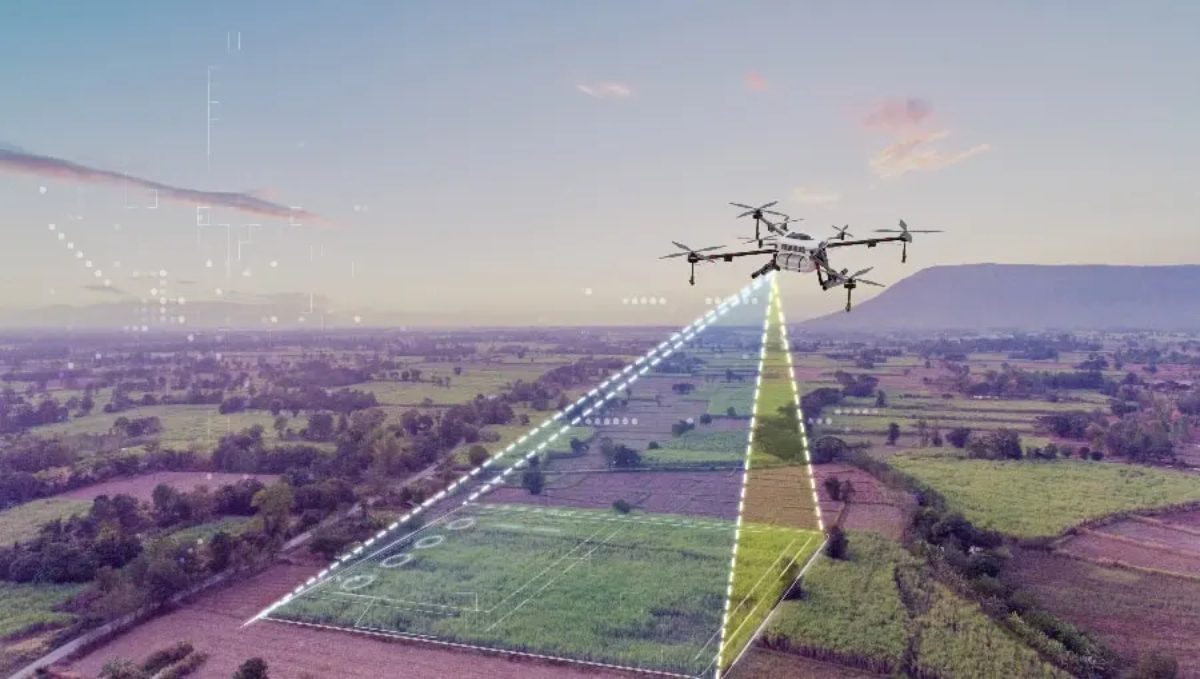
In the realm of photography and videography, drones have opened up a new frontier. They offer perspectives that were once the exclusive domain of helicopters or cranes, allowing hobbyists and professionals alike to capture breathtaking aerial shots. However, to make the most of this technology, understanding and mastering your drone’s camera settings is crucial. This guide delves into the essential camera settings you need to know to elevate your aerial photography and videography.
Understanding the Basics: Resolution, Frame Rate, and Aspect Ratio
Before diving into more advanced settings, it’s important to grasp the basics. The resolution of your camera determines the level of detail in your images and videos. For most drones, this can range from 1080p to 4K or even 8K. Higher resolutions provide more detail but require more storage space and processing power.
Frame rate is another key consideration, especially for videography. Common frame rates include 24, 30, and 60 frames per second (fps). A higher frame rate results in smoother motion, which is ideal for dynamic scenes, while a lower frame rate can lend a more cinematic feel.
Aspect ratio defines the shape of your image. The standard for most drones is 16:9, which is perfect for modern displays, but some professional projects may require 4:3 or even wider ratios like 21:9.
ISO: Balancing Light and Noise
ISO sensitivity refers to the camera sensor’s sensitivity to light. Lower ISO settings (e.g., 100 or 200) are ideal for well-lit conditions and produce images with minimal noise. As lighting conditions worsen, increasing the ISO allows you to maintain exposure, but at the cost of increased noise and graininess.
For aerial shots, where lighting can change rapidly, especially during dawn or dusk, mastering ISO settings is crucial. Using auto ISO can be beneficial, but for more control, manual adjustments ensure that you can balance light intake and noise effectively.
Shutter Speed: Freezing or Blurring Motion
Shutter speed determines how long the camera’s sensor is exposed to light. A fast shutter speed (e.g., 1/1000s) is ideal for freezing fast-moving subjects, such as birds or cars from above. Conversely, a slow shutter speed (e.g., 1/50s) can create motion blur, which can be used artistically to convey speed or movement.
When shooting video, the 180-degree rule is a helpful guideline. This rule suggests setting your shutter speed to approximately double your frame rate. For instance, if you’re shooting at 30 fps, a shutter speed of 1/60s is recommended to achieve natural motion blur.
Aperture: Controlling Depth of Field
Aperture controls the amount of light entering the camera and affects depth of field. A wide aperture (e.g., f/2.8) allows more light and creates a shallow depth of field, which can help subject separation from the background. A narrow aperture (e.g., f/11) increases depth of field, keeping more of the scene in focus, which is often desirable for landscape aerial shots.
Most drone cameras have a fixed aperture, but newer and higher-end models offer adjustable aperture settings. Understanding and utilizing this feature can significantly impact the composition and clarity of your aerial shots.
White Balance: Achieving Accurate Colors
White balance ensures that colors are represented accurately, regardless of the lighting conditions. Auto white balance is convenient, but it can sometimes misjudge the scene, especially with complex lighting. For aerial photography, setting the white balance manually or using presets (such as daylight, cloudy, or shade) can result in more consistent and accurate colors.
Advanced Techniques: Using ND Filters
Neutral Density (ND) filters are essential tools for controlling exposure, especially in bright conditions. They reduce the amount of light entering the camera without affecting color balance, allowing for slower shutter speeds or wider apertures even in bright sunlight.
For aerial videography, ND filters help maintain the desired shutter speed for cinematic motion blur. They are particularly useful when shooting in sunny environments, where the default settings might otherwise result in overexposed footage.
Focus: Ensuring Sharp Images
Achieving sharp focus is critical in aerial photography. While many drones have autofocus capabilities, manual focus can provide more precision, especially in challenging lighting conditions or when shooting complex scenes.
Using focus peaking, a feature available on some drones, can assist in achieving sharp focus. This feature highlights edges in the frame that are in focus, making it easier to adjust the focus manually for crisp images.
Composition: Framing Your Shots
Beyond technical settings, composition plays a vital role in creating stunning aerial shots. Utilize techniques like the rule of thirds, leading lines, and symmetry to enhance the visual appeal of your images. The unique perspective offered by drones allows for creative compositions that are not possible from the ground.
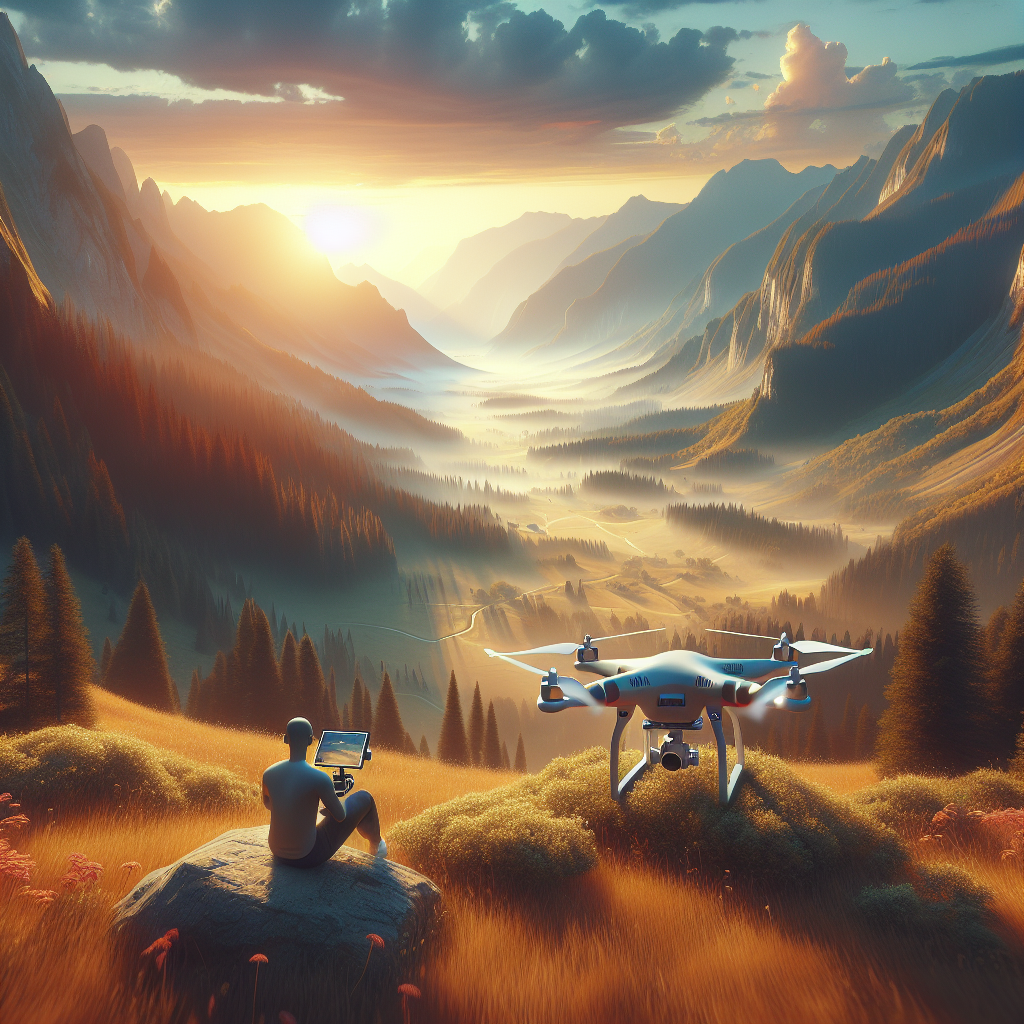
Experiment with altitude and angles to find the most compelling viewpoints. Often, the best shots come from unexpected perspectives, so don’t hesitate to explore different heights and orientations.
Post-Processing: Enhancing Your Aerial Shots
Even with perfect camera settings, post-processing can enhance your aerial shots further. Software like Adobe Lightroom or Photoshop allows you to adjust exposure, contrast, and colors, bringing your creative vision to life. For video, tools like Adobe Premiere Pro or DaVinci Resolve offer powerful editing capabilities to refine your footage.
In post-processing, be mindful of over-editing. Aim to enhance your shots while maintaining a natural look, ensuring that the final output reflects the scene’s true beauty.
Conclusion: Practice and Experimentation
Mastering drone camera settings is a journey that involves practice and experimentation. Every scene is unique, and understanding how to adapt your settings to different conditions is key to capturing stunning aerial shots. Take the time to explore each setting, practice in various lighting conditions, and experiment with different compositions.
By mastering these camera settings, you unlock the full potential of your drone, allowing you to capture breathtaking images and videos that tell a story from the sky. Embrace creativity, and let your drone be your eyes in the sky, capturing the world from a perspective that is uniquely yours.
#ChatGPT assisted in the creation of this article.
Share this content:
Post Comment