Mastering Drone Raw Photo Editing for Stunning Results
Introduction to Drone Raw Photo Editing
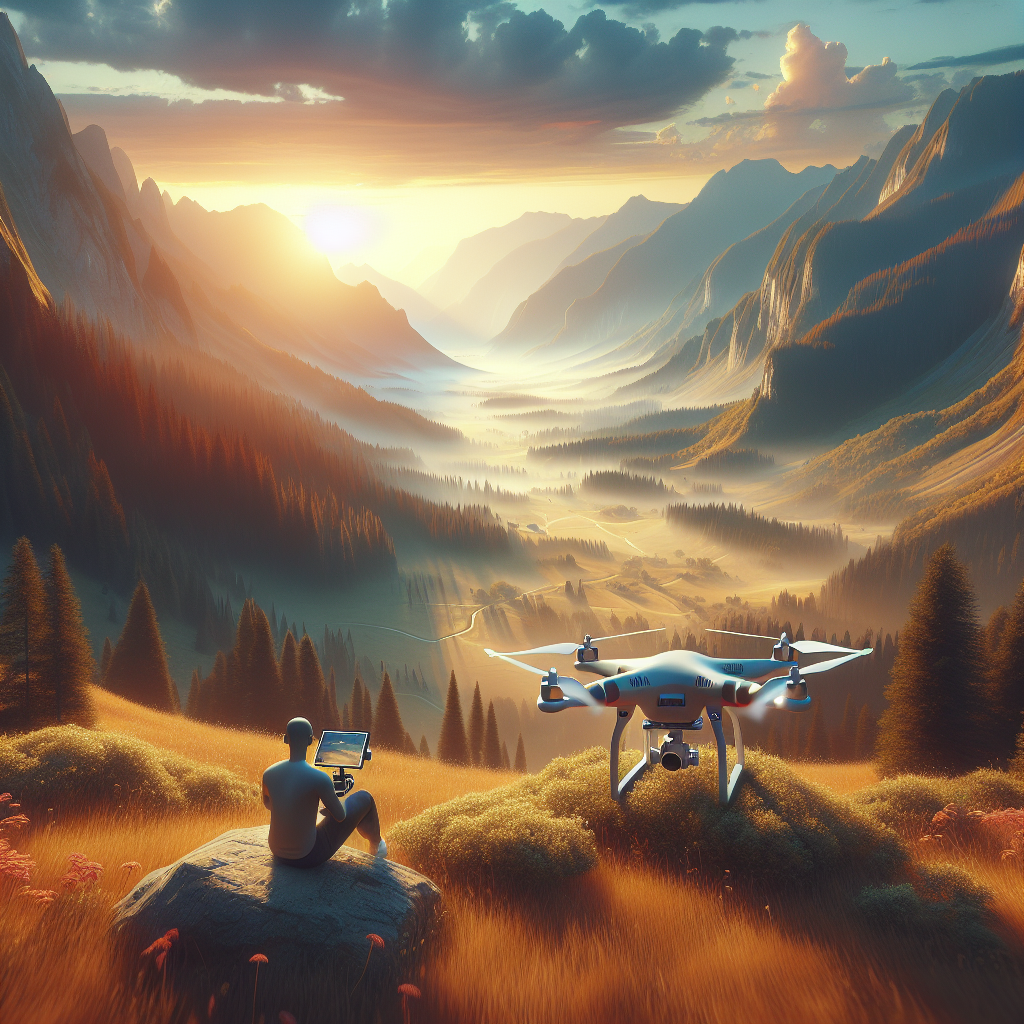
Drones have revolutionized the world of photography, allowing photographers to capture breathtaking aerial views and perspectives that were once impossible to achieve. However, capturing stunning images with a drone is only half the battle. To truly make your drone photos stand out, mastering the art of drone raw photo editing is essential. This article will guide you through the steps and techniques needed to transform your raw drone images into stunning works of art.
Understanding Raw Files
Before diving into editing techniques, it’s crucial to understand what raw files are and why they are important. Unlike JPEGs, which are compressed and processed by the camera, raw files contain uncompressed and unprocessed data directly from the camera’s sensor. This means they retain the highest level of detail and dynamic range, providing you with more flexibility in post-processing. Editing raw files allows you to recover highlights, adjust exposure, and enhance colors without degrading image quality.
Choosing the Right Software
To edit your drone raw photos effectively, you’ll need the right software. Popular choices include Adobe Lightroom, Adobe Photoshop, and Capture One. Each of these programs offers powerful tools for editing raw files, but the choice ultimately depends on your personal preference and workflow. For beginners, Adobe Lightroom is a user-friendly option that integrates well with Photoshop for more advanced editing.
Initial Adjustments: Exposure and White Balance
Once you’ve imported your raw files into your chosen software, the first step is to make initial adjustments to exposure and white balance. Start by adjusting the exposure to ensure that your image is neither too bright nor too dark. This will serve as the foundation for further edits. Next, correct the white balance to ensure that the colors in your image are accurate. This is particularly important for aerial photos, where the color of the sky and landscape can be affected by the time of day and weather conditions.
Enhancing Dynamic Range
One of the major advantages of shooting in raw is the ability to enhance dynamic range. This involves recovering details in the highlights and shadows to create a balanced image. In Lightroom, use the Highlights and Shadows sliders to bring back lost details. Be careful not to overdo it, as this can result in an unnatural look. The goal is to achieve a realistic balance that mimics what the eye would see.
Boosting Colors and Contrast
Colors play a crucial role in making your drone photos pop. To enhance colors, use the Vibrance and Saturation sliders. Vibrance selectively boosts the intensity of muted colors, while Saturation increases the overall intensity of all colors. Again, moderation is key to avoid oversaturated images. To add depth and dimension, increase the contrast, which will make the colors stand out even more.
Sharpening and Noise Reduction
Due to the high resolution of drone cameras, noise and lack of sharpness can be issues, especially in low-light conditions. Use the Sharpening tool to enhance the details in your photo. Be cautious with the Amount slider to prevent introducing artifacts. For noise reduction, focus on reducing Luminance noise, which is more prominent in drone photos. Strike a balance between reducing noise and preserving detail.
Advanced Techniques: Graduated Filters and Radial Filters
To take your drone photo editing to the next level, consider using advanced tools like Graduated Filters and Radial Filters. Graduated Filters are perfect for adjusting the exposure and color of the sky, while Radial Filters allow you to apply localized adjustments to specific areas of your photo. These tools can help you create a more dynamic and visually appealing image by drawing attention to key elements.
Correcting Lens Distortion
Drone cameras often come with wide-angle lenses that can introduce distortion, making straight lines appear curved. Correcting lens distortion is an important step in ensuring your photos look natural. Most editing software includes lens correction profiles that automatically adjust distortion based on the camera model. Alternatively, you can manually adjust distortion using the Transform tool.
Creating a Panoramic View
One unique advantage of drone photography is the ability to capture expansive panoramic views. To create a panorama, capture a series of overlapping images while panning the drone across the scene. In post-processing, use software like Lightroom or Photoshop to stitch the images together seamlessly. This technique allows you to showcase the grandeur of a landscape in a single, stunning image.
Adding Finishing Touches
After making all the necessary adjustments, it’s time to add finishing touches to your photo. This might include adding a vignette to draw focus to the center of the image or applying a subtle split toning effect to enhance mood and atmosphere. These final steps can elevate your photo from great to extraordinary.
Exporting Your Masterpiece
Once you’re satisfied with your edits, it’s time to export your photo. Choose the appropriate file format and resolution based on how you intend to use the image. For online sharing, JPEGs are ideal due to their smaller file size. For prints, consider exporting in a higher resolution and a format like TIFF to retain maximum quality.
Conclusion
Mastering drone raw photo editing requires practice and patience, but the results are well worth the effort. By understanding the capabilities of raw files and utilizing the right tools and techniques, you can transform your drone photos into stunning works of art that capture the beauty of the world from above. Whether you’re a professional photographer or a hobbyist, these tips will help you take your aerial photography to new heights.
#ChatGPT assisted in the creation of this article.
Share this content:
Post Comment