Master Drone Photography Lighting for Stunning Shots
Introduction
Drone photography has transformed the world of aerial imagery, providing photographers and videographers with unprecedented access to stunning perspectives. However, just like in traditional photography, mastering lighting is crucial to capturing breathtaking shots. Whether you’re a hobbyist or a professional, understanding how to manipulate natural and artificial light can elevate your drone photography from good to extraordinary. This article delves into the essential aspects of mastering drone photography lighting to help you achieve stunning shots.
Understanding the Basics of Light
Before diving into specific techniques, it’s important to understand the fundamental properties of light. Light has three main attributes: intensity, direction, and color.
– **Intensity** refers to how bright the light is. The sun, for example, provides a broad range of intensity throughout the day.
– **Direction** involves the path light takes to reach your subject, influencing shadows and highlights.
– **Color** is the hue of the light, which changes throughout the day from the cool blues of morning to the warm reds and oranges of sunset.
Understanding these properties can help you manipulate light to your advantage in drone photography.
The Golden and Blue Hours
One of the most effective ways to capture stunning drone photography is to shoot during the golden and blue hours.
The Golden Hour
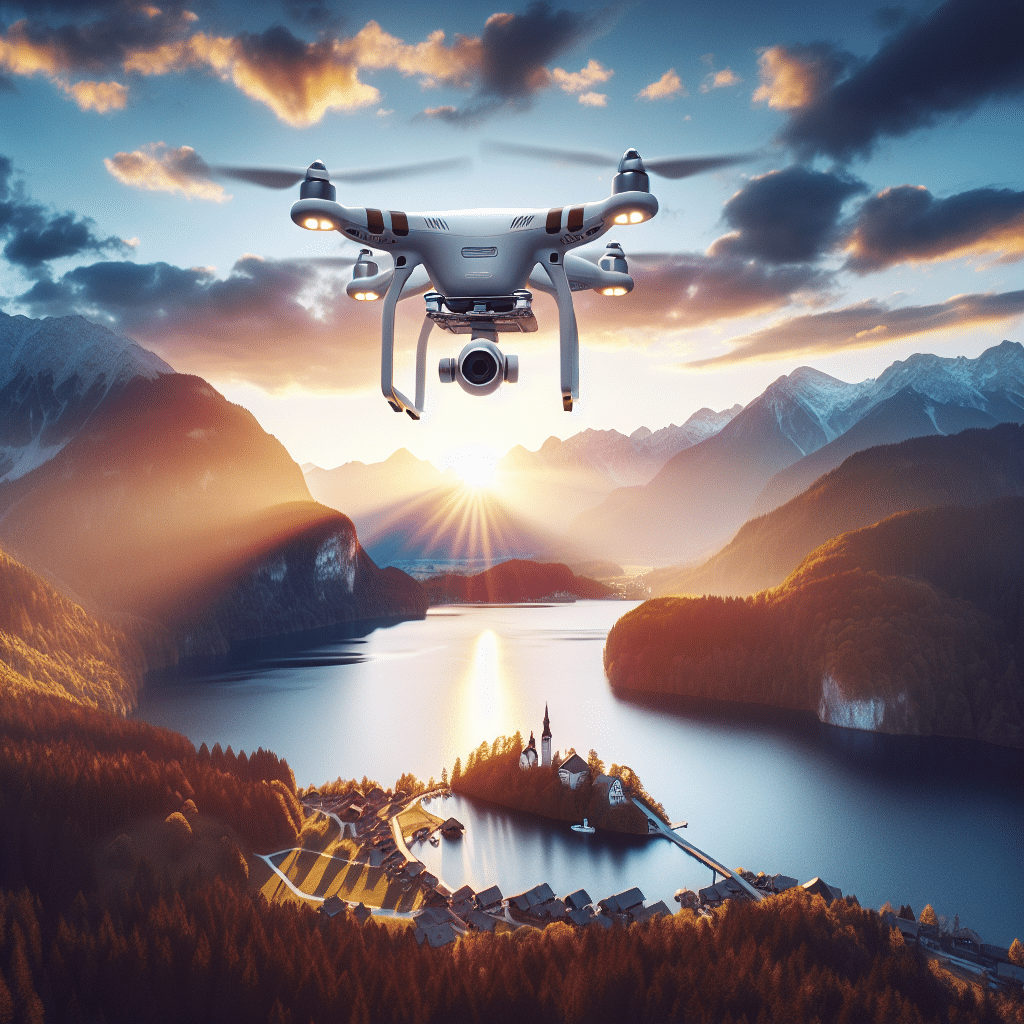
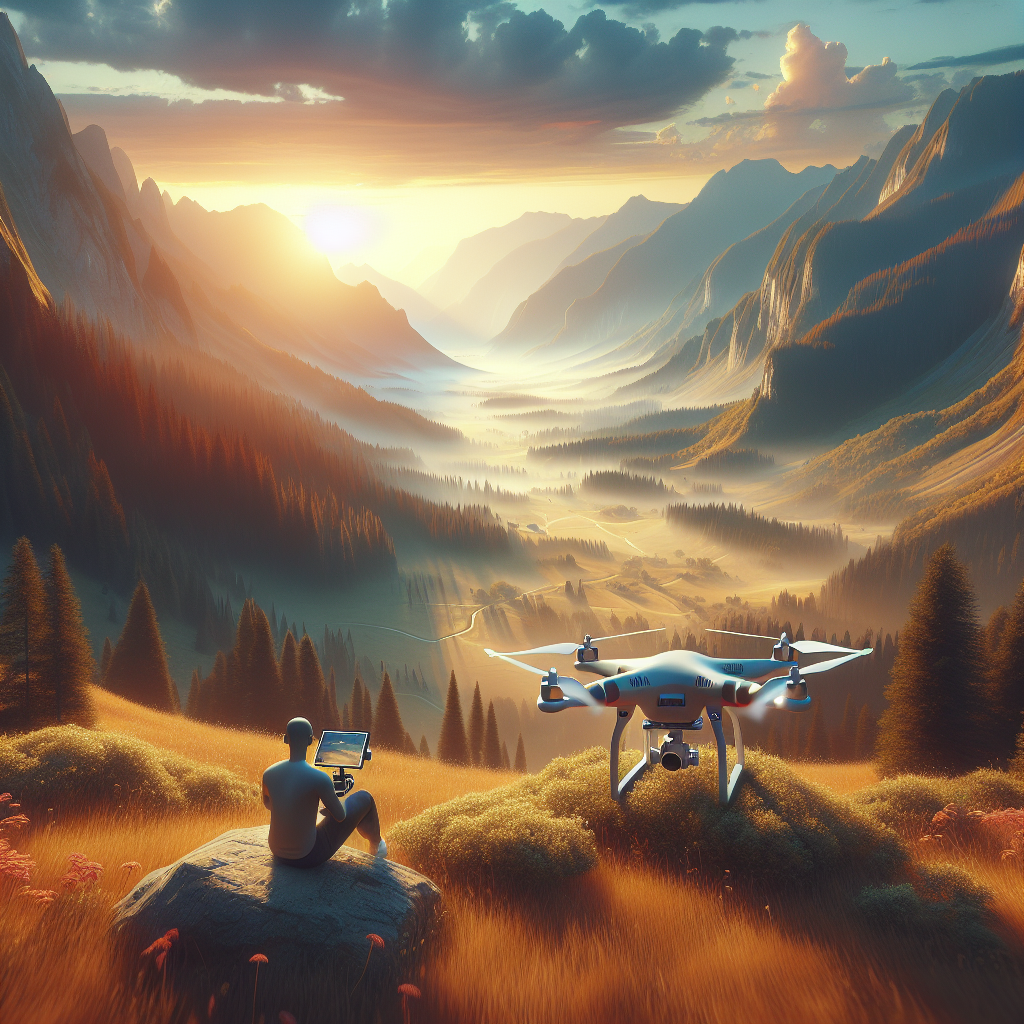
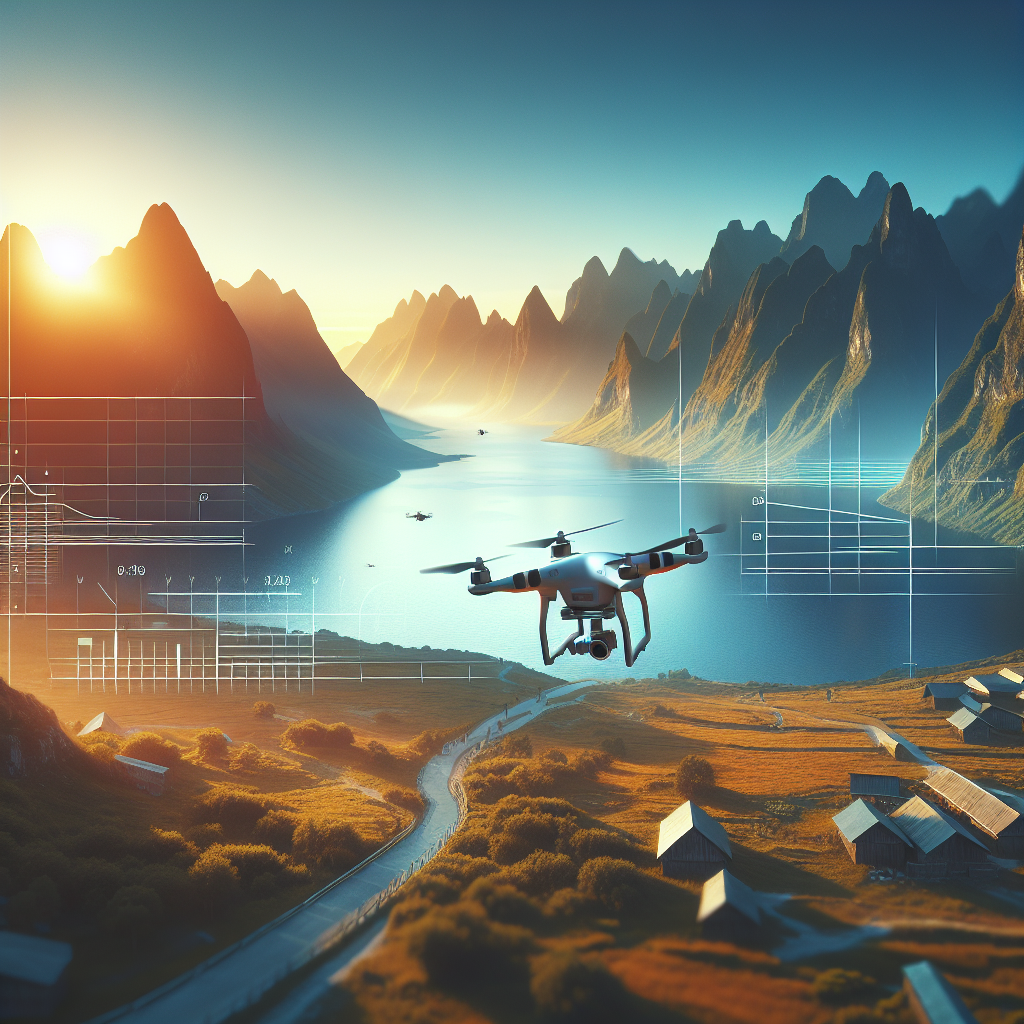
The golden hour occurs shortly after sunrise and before sunset. During this time, the sun is low in the sky, producing a soft, warm light that can add a magical glow to your images. The gentle shadows and reduced contrast help in creating a pleasing and natural look. Drones can take advantage of this time to shoot landscapes and cityscapes with a warm ambiance.
The Blue Hour
The blue hour takes place just before sunrise and after sunset. The sun is below the horizon, and the sky takes on a deep blue hue with soft, diffused light. This period is perfect for capturing serene and tranquil images. The cool tones of the blue hour can add a dramatic effect to your drone photographs, especially when shooting bodies of water or urban environments with artificial lighting.
Midday Challenges and Solutions
Shooting during midday presents challenges such as harsh shadows and high contrast due to the sun’s position directly overhead. However, there are ways to mitigate these issues:
– **Use ND Filters**: Neutral Density (ND) filters reduce the amount of light entering the camera, allowing for longer exposure times even in bright conditions. This can help in balancing the exposure and reducing glare.
– **Seek Shadows**: Look for natural or architectural features that can provide shade, reducing harsh shadows and contrast.
– **Overcast Days**: Cloud cover acts as a natural diffuser, softening the light and reducing harsh shadows. These conditions can be ideal for capturing evenly lit aerial shots.
Understanding Light Direction
The direction of light plays a crucial role in defining the mood and depth of your drone photographs. Here’s how different lighting directions can affect your images:
Front Lighting
When the light source is directly behind the drone, illuminating the subject from the front, it results in evenly lit images with minimal shadows. While this can be useful for clear and detailed shots, it may also lead to flat-looking images with little texture or depth.
Side Lighting
Side lighting occurs when the light source illuminates the subject from one side. This type of lighting creates long shadows and highlights textures, adding depth and dimension to your shots. It’s particularly effective for capturing landscapes, as it emphasizes the natural contours and features of the terrain.
Backlighting
Backlighting involves positioning the light source behind the subject, creating silhouettes and dramatic contrast. This technique can lead to striking compositions, especially during sunrise or sunset when the sun’s warm glow enhances the silhouette effect. However, it’s important to manage exposure carefully to prevent losing details in the highlights or shadows.
Utilizing Artificial Lighting
While natural light is often preferred in drone photography, there are instances where artificial lighting can enhance your shots. Here are some ways to incorporate artificial light:
– **LED Lights**: Attaching small LED lights to your drone can illuminate subjects during low-light conditions or create creative light trails in long-exposure shots.
– **Light Painting**: This technique involves using a moving light source to “paint” light into your shot during a long exposure, creating unique and artistic effects.
– **Combining Light Sources**: Sometimes, combining natural and artificial light can result in dynamic and visually interesting images. For example, capturing a cityscape during the blue hour with streetlights and building lights can add a vibrant contrast to the deep blue sky.
Post-Processing Lighting Adjustments
Post-processing is an essential step in refining your drone images and further enhancing the lighting. Here are some tips for effective post-processing:
– **Exposure and Contrast**: Adjusting exposure and contrast can correct any over- or underexposure issues while enhancing the overall tonal range of the image.
– **White Balance**: Correcting the white balance ensures that the colors in your image are accurate and true to life.
– **Dodge and Burn**: This technique involves selectively lightening (dodging) or darkening (burning) areas of the image to add depth and focus.
– **HDR Imaging**: High Dynamic Range (HDR) imaging combines multiple exposures to capture a wider range of light and detail, resulting in a more balanced and detailed final image.
Conclusion
Mastering lighting in drone photography is a crucial skill that can significantly elevate the quality of your aerial shots. By understanding the properties of light, utilizing optimal shooting times, managing challenging lighting conditions, and incorporating artificial lighting when necessary, you can capture stunning images that captivate and inspire. Remember that post-processing is an important tool for refining your images, allowing you to perfect the lighting and achieve your creative vision. With practice and experimentation, you’ll be able to harness the power of light to create breathtaking drone photography.
#ChatGPT assisted in the creation of this article.
Share this content:
Post Comment